
End of Season Garden Tasks: Saving Seeds for a Free Garden Next Year
The tomatoes have slowed down, the pepper plants are looking a little tired, and somewhere out there a squash vine is quietly giving up the fight.
Before you pull everything out and call the garden "done" for the year, there's one more task worth adding to your fall clean-up list — and it might just be the most valuable five minutes you spend outside all season. Saving vegetable seeds from this year's garden means next year's garden is already halfway planted, and it won't cost you a dime.
This is one of those old-fashioned garden habits that quietly disappeared once seed packets got cheap and convenient — but if you're working toward a more self-sufficient, frugal garden, it's one of the easiest wins out there. Let's walk through where seed saving fits into your fall garden tasks, and exactly how to do it right.
📋 What's In This Post
- Why Seed Saving Belongs on Your Fall To-Do List
- Heirloom vs. Hybrid: What You Need to Know First
- The Easiest Vegetables to Save Seeds From
- How to Save Vegetable Seeds: Step-by-Step
- How to Store Saved Seeds So They Actually Last
- Bonus: Other Fall Garden Tasks While You're Out There
- Looking Ahead: Getting Ready for Next Year
Why Seed Saving Belongs on Your Fall To-Do List
Let's be honest — seed packets aren't exactly breaking the bank one at a time, but they add up fast once you're planting a real garden. Saving your own seeds means next year's tomatoes, beans, and peppers are already covered, no seed rack trip required.
But it's more than just frugal. Every time you save seeds from your best-performing plants, you're nudging your garden toward varieties that actually thrive in your soil, your climate, and your particular brand of benign plant neglect. Give it a few years and you'll have your own little strain of "this variety just works here." That's the kind of self-sufficient gardening magic you can't buy in a packet.
Heirloom vs. Hybrid: What You Need to Know First
Before you start collecting seeds from everything in sight, there's one thing that'll save you a season of disappointment: not all seeds are created equal when it comes to saving.
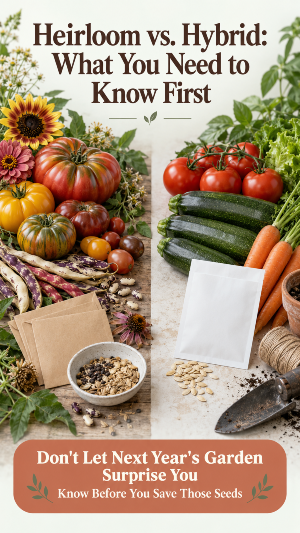
- Heirloom and open-pollinated varieties grow "true to type," meaning the seeds you save will produce plants just like the parent. These are your best bet for seed saving.
- Hybrid varieties (often labeled F1 on the packet) are a cross between two different parent plants. Seeds saved from hybrids can still sprout, but what grows often won't match the plant you saved it from — sometimes wildly so.
Quick way to check: look at the seed packet or plant tag. If it says "hybrid" or "F1," it's still worth a try if you're curious, but don't count on consistent results. If it says "heirloom" or "open-pollinated," you're in good shape.
The Easiest Vegetables to Save Seeds From
If you're new to seed saving, start with the vegetables that basically save themselves. These plants are self-pollinating, which means you don't have to worry about cross-pollination messing with your seeds:
- Tomatoes — beginner-friendly, though the seeds need a quick fermenting step (more on that below)
- Peppers — about as easy as it gets, just scrape and dry
- Beans — let the pods dry right on the vine
- Peas — same idea as beans, dry on the vine until papery
Once you've got a season or two of these under your belt, you can branch out into trickier crops like squash, cucumbers, and biennials like carrots — but tomatoes, peppers, beans, and peas are where every seed saver should start.
How to Save Vegetable Seeds: Step-by-Step
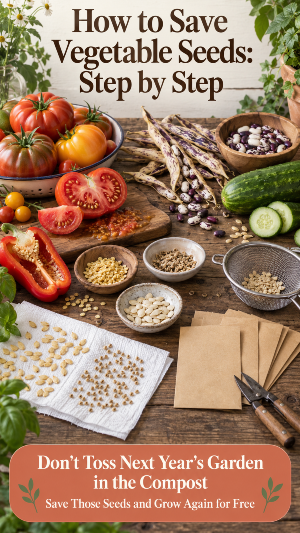
For beans and peas:
- Leave the pods on the plant until they're brown, dry, and papery — resist the urge to pick them early.
- Shell the pods and spread the seeds out to air dry for another week.
- Store once fully dry (they should snap, not bend).
For peppers:
- Let peppers fully ripen on the plant (past the eating stage — usually when they've turned their final color, like red or orange).
- Cut the pepper open and scrape the seeds onto a paper towel or plate.
- Spread them out and let them air dry for about a week before storing.
For tomatoes:
- Choose a fully ripe tomato from your healthiest plant.
- Scoop the seeds and gel into a small jar with a splash of water.
- Let it sit at room temperature for 2–3 days to ferment — this breaks down the gel coating and mimics what naturally happens when a tomato rots on the ground. Yes, it'll get a little funky. That's normal.
- Rinse the seeds in a fine strainer until clean, then spread on a paper towel or coffee filter to dry fully for about a week.
Only save seeds from your healthiest, best-performing plants — you're essentially voting for what you want more of next year.
How to Store Saved Seeds So They Actually Last
Drying is only half the job — storage is what determines whether your seeds are still viable come spring.
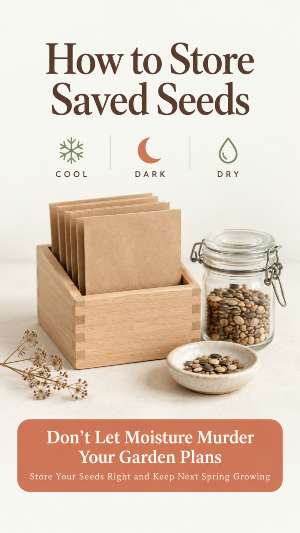
- Make sure seeds are completely dry before storing. Any lingering moisture invites mold.
- Use paper envelopes or small paper seed packets rather than sealed plastic, since paper allows any residual moisture to escape.
- Label everything with the variety and the date collected — trust me, "tomato, probably the good one" will not mean anything to you in March.
- Store in a cool, dark, dry place — a labeled shoebox, a photo storage box, or a mason jar in a closet all work well.
- Add a silica packet or a spoonful of powdered milk wrapped in tissue to the storage container if your area runs humid, to help absorb excess moisture.
Most vegetable seeds stay viable for 2–5 years when stored properly, though germination rates do drop a bit each year, so use your oldest seeds first.
Bonus: Other Fall Garden Tasks While You're Out There
Since you're already out in the garden collecting seeds, it's a good time to knock out a few other end-of-season tasks:
- Pull spent annuals and add healthy plant material to your compost bin
- Rake up fallen leaves and start a batch of leaf mold (it's basically the seed-saving of the mulch world — free and low effort)
- Clear out diseased plant material completely rather than composting it
- Do a quick soil test or add a layer of compost to beds before winter
- Clean and store garden tools so they're rust-free come spring
Looking Ahead: Getting Ready for Next Year
Here's the fun part: those little envelopes of seeds you just labeled and tucked away are the start of next year's garden plan. Come late winter, you'll pull them back out to start seeds indoors, and you'll already have a head start — free plants, better-adapted to your garden, grown from the best of what you already had.
It's a small task now, but it pays off every single spring after.
Do you save seeds from your garden, or are you team "fresh packet every year"? Tell me in the comments — I'm always curious what everyone's go-to seeds to save are.


🍓 Let’s Stay Connected
If you love simple, homemade, from-scratch goodness, you’ll fit right in here.
I share freeze drying tips, zero waste kitchen ideas, and all the little farm girl fixin’s along the way 👩🏻🌾
💛 Join me on Facebook
🎥 Watch on YouTube
🌿 Follow along on TikTok
📌 Save ideas on Pinterest
🛒 Shop my Amazon favorites
✉️ Grab my free kitchen tips + join my list
Just a little heads up, friend...some of the links on this page may be affiliate links. That means if you grab something through them, I may earn a small commission (at no extra cost to you). It’s basically like you buying me a coffee while I share all my favorite cozy kitchen finds with you. I only ever recommend what I truly love and use myself.